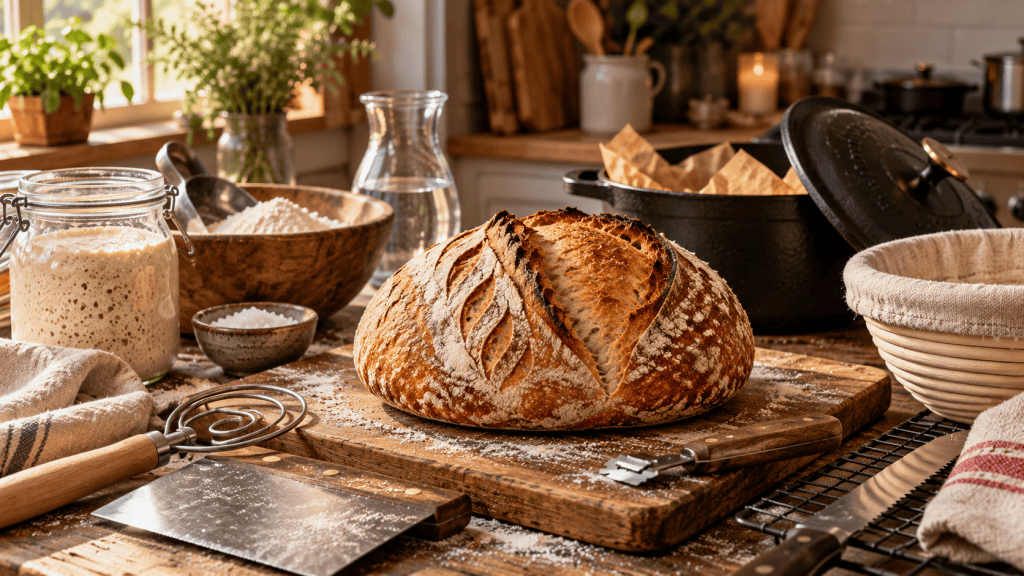
The Essential Sourdough Beginner Guide: Everything You Need to Start Baking at Home
Affiliate Disclosure: This post contains affiliate links, which means I may earn a small commission from qualifying purchases at no additional cost to you. As an Amazon Associate, I earn from qualifying purchases. #ads are highlighted in bold font and underlined
There is something incredibly rewarding about pulling a warm, crusty loaf of homemade sourdough bread from the oven—especially when you realize it was made with only a handful of simple ingredients. Learning how to make sourdough bread for beginners can feel intimidating at first, but once you understand the basic rhythm of feeding your starter, mixing your dough, fermenting, shaping, and baking, it quickly becomes part of your routine. Homemade sourdough also gives you complete control over the ingredients going into your family’s bread, making it a wonderfully simple, wholesome alternative to many highly processed store-bought loaves.
Essential Sourdough Supplies for Beginners
You really don’t need an entire cabinet of special equipment to begin. Start with a good sourdough starter jar and a small silicone sourdough spatula for feeding and mixing your starter. A clear jar is especially helpful because you can easily see when the starter has doubled and is ready to bake. For making the dough itself, I love using a large glass mixing bowl for bulk fermentation. Being able to see the bubbles forming along the sides of the dough takes much of the guesswork out of knowing when fermentation is complete.
Once your dough is ready to shape, banneton proofing baskets help the loaves hold their shape while creating that classic artisan appearance. A set of two is especially convenient since the recipe below makes two loaves at once. Finally, one of the most worthwhile pieces of sourdough equipment is a ceramic Dutch oven. The enclosed pot traps steam released by the dough during baking, helping create the beautiful rise, crisp crust, and soft interior that make homemade sourdough so satisfying. A digital kitchen scale is another small investment I strongly recommend because sourdough becomes much easier and more consistent when ingredients are measured by weight rather than cups.
My Easy Two-Loaf Sourdough Bread Recipe
This is my go-to beginner sourdough recipe because it makes two generous loaves—one for your family and another to freeze, share with a neighbor, or enjoy later in the week.
Ingredients:
1,000 grams bread flour
700 grams water
200 grams active sourdough starter
20 grams salt
In the evening, take 50g of sourdough starter and combine it with 125g of filtered water and 125g of flour. Leave it in a warm area like your kitchen counter overnight or place in your oven with only the oven light turned on. It will be ready to make bread in the morning when it is bubbly and roughly doubled in size. Mix the flour, water, and starter in your large glass bowl and allow the dough to rest for about 30 minutes. Add the salt, pinching it into the dough with your first and middle fingers and thumb, then complete four sets of stretch-and-folds about 30 minutes apart. Stretch the dough out and fold it over on all four sides like you were folding the four corners of a piece of paper. Repeat that step every 30 minutes four times over. After the last stretch and fold, allow the dough to continue its bulk fermentation on the warm counter until it looks airy, bubbly, and has increased approximately 50–75% in size. This takes approximately 4-6 hours.
(Note: take 50g of the leftover sourdough starter in your glass jar and “feed” the starter by adding 50g of water and 50 grams of flour. Mix together and let the jar sit at room temperature for 1-2 hours before returning to the fridge until your next bake.)
Divide the dough into two portions, gently shape each loaf on a lightly floured counter surface, and place them into floured banneton baskets. Cover and refrigerate for approximately 12–18 hours. When you’re ready to bake, preheat your Dutch oven and bake the dough straight from the refrigerator at 450°F for 20 minutes covered. Remove the lid, lower the temperature to 425°F, and continue baking for another 20–25 minutes, until the crust is beautifully browned. Allow the bread to cool for at least one hour before slicing.
Homemade Bread Is Worth the Effort
Sourdough baking takes time, but most of that time is simply allowing fermentation to do the work for you. Once you have a starter jar, glass fermentation bowl, banneton baskets, ceramic Dutch oven, and a dependable kitchen scale, you have nearly everything you need to make beautiful artisan bread at home for years. There is also something wonderfully grounding about keeping a jar of starter alive, working dough with your hands, and filling the kitchen with the smell of freshly baked bread. In a world where so much of our food arrives packaged and processed, learning to make one of life’s simplest staples from scratch is a small skill that can bring an incredible amount of satisfaction to your home.


Leave a Reply